Saturday, December 5, 2015

So clever!

Every now and then I have weavers share with me something that they have built to help with either weaving or warping their loom. This blog post will highlight two inventions that assist weavers to be more efficient warping alone and more accurate with  long treadling sequences.


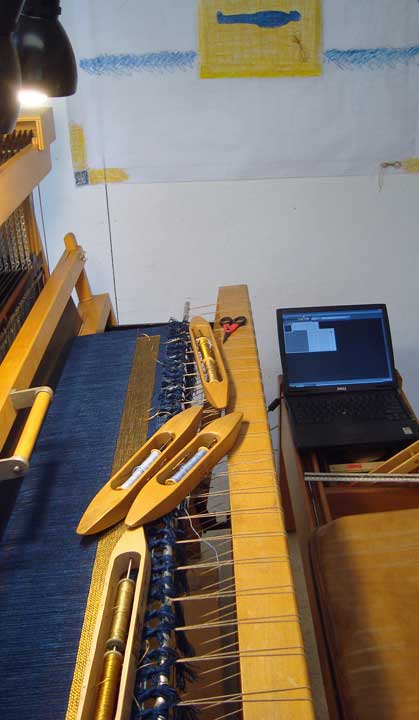
The first adaptation is a device built by local weaver Dawne Wimbrowe and a colleague - she calls this device Tempo Treadle.  Here is a quote from her blog that helps explain what it does for weavers - "TempoTreadle is a very unique solution for hand weavers with traditional looms who want just a bit of technology to help make the weaving process more enjoyable, without fear of treadling mistakes.


Here is a link to Dawne's blog that will help explain it all! Please it check out!


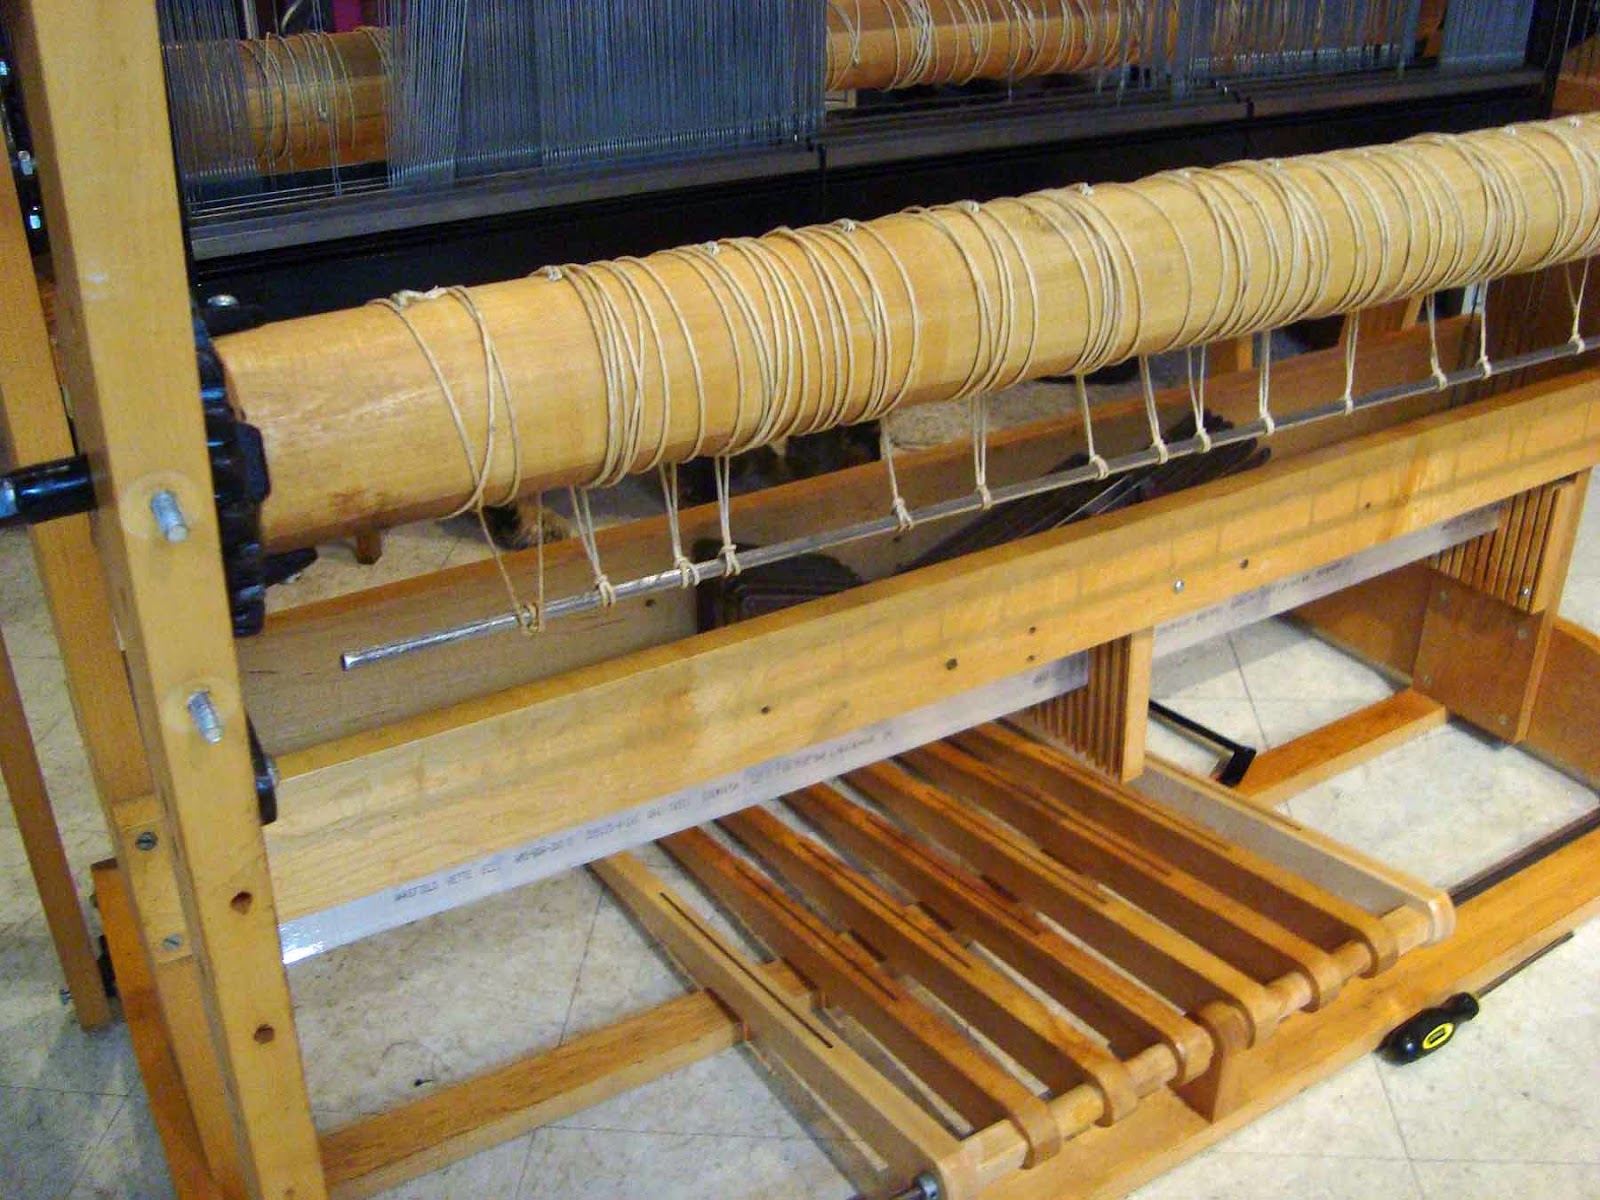
The second adaptation called Trapeze Warping - is  especially for those who find warping long warps alone a challenge. I think this set-up has been around a while -  but it is new to me! Check out the above link to Weavolution for the discussion on this style of warping that uses weights and distance to create a steady tension for warping on your loom. There are also videos on UTube and books on this topic.


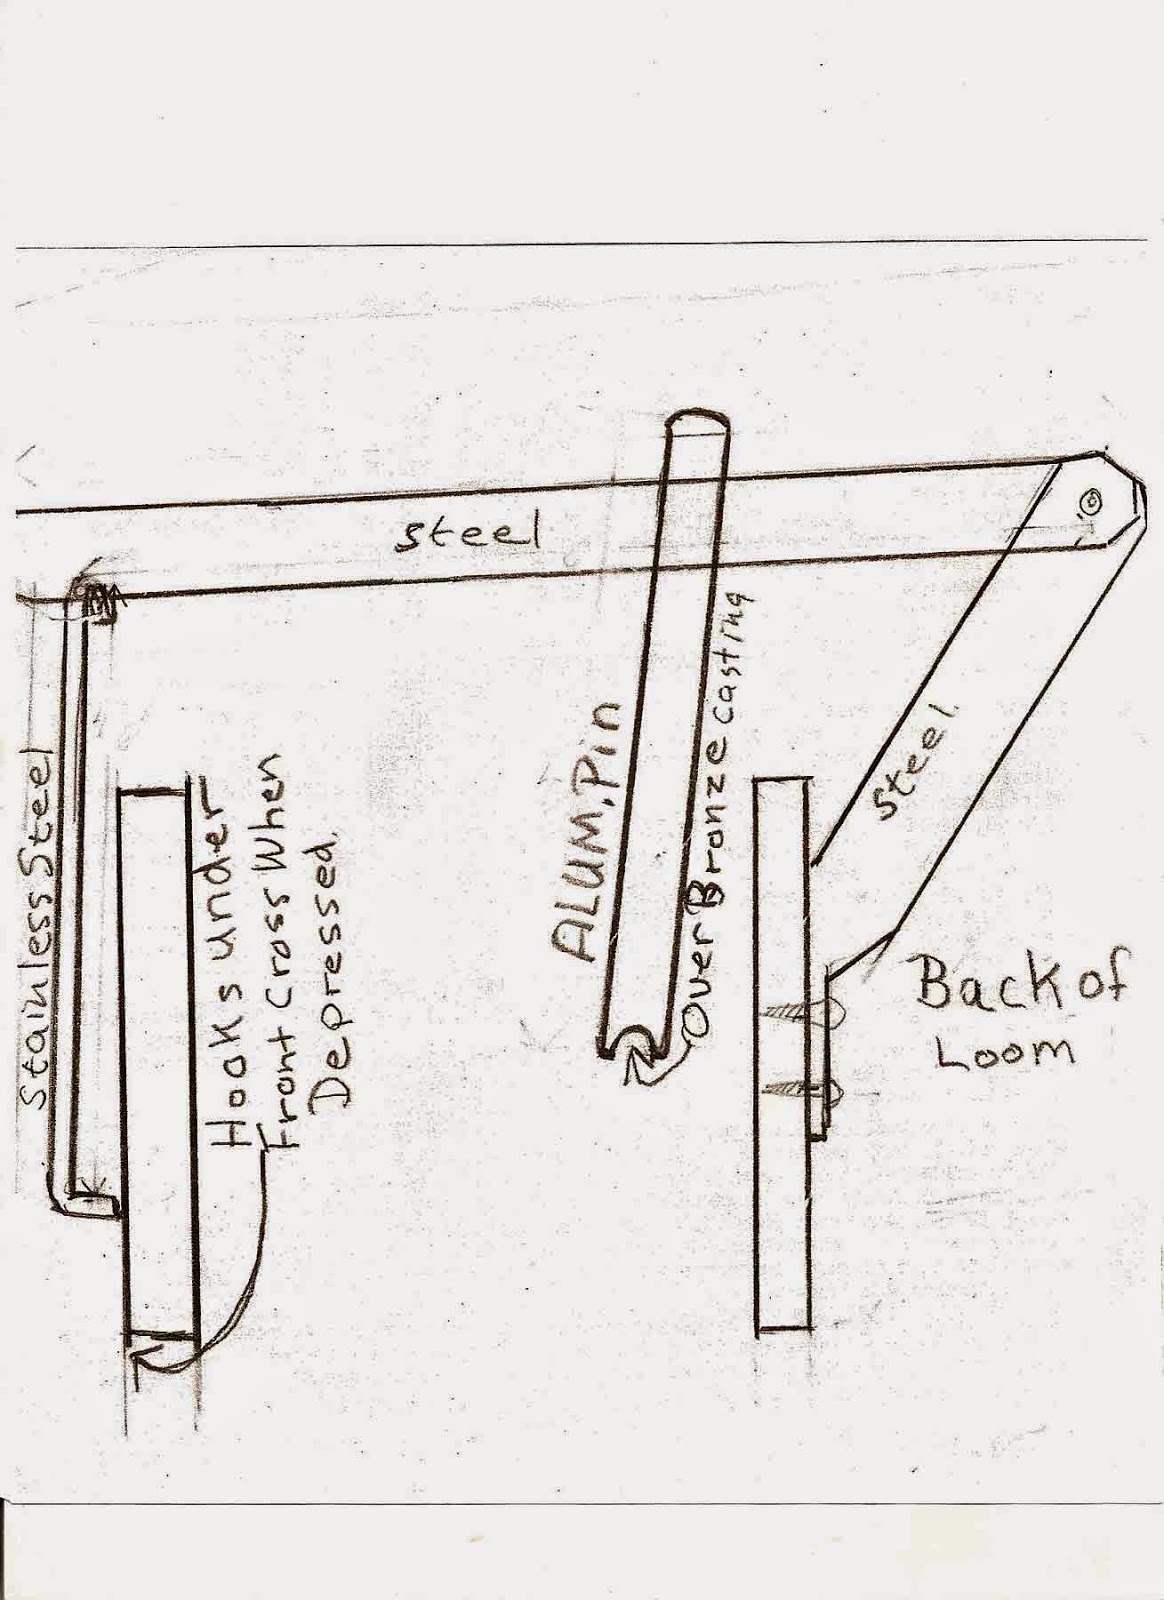
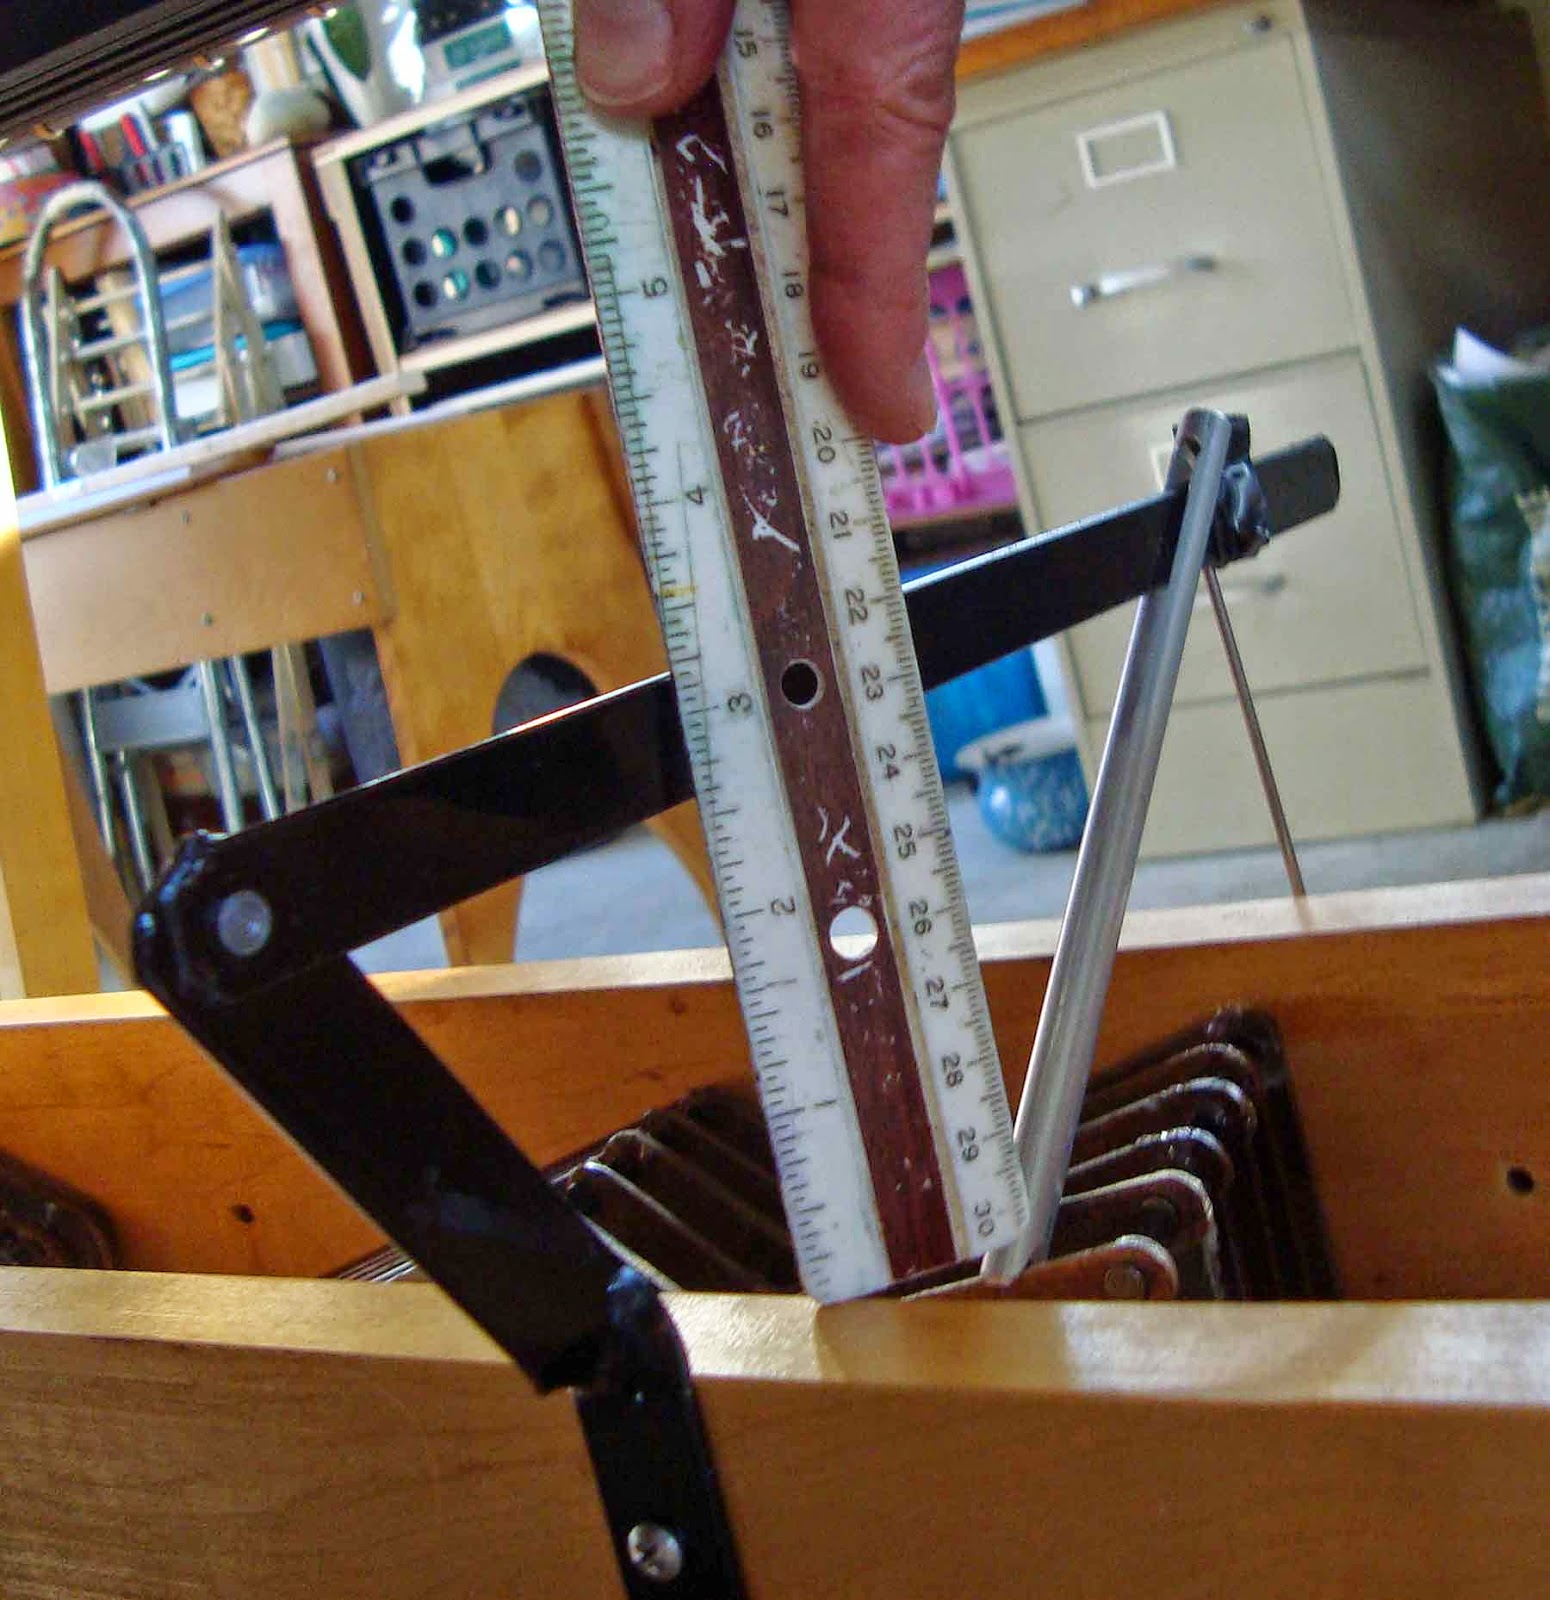
The trapeze set up here is on loom in Holliston, MA. The cool thing is that this trapeze was built from recycled parts - including the boom from a small sail boat!


Both of these adaptions might be beneficial for you and your weaving! Let me know what you think! Meanwhile in my own studio - I am back from my solo studio time at Hambidge. What an amazing experience - I think that subject warrants its own blog post!


Since I have been home I have been working on launching a new community art project called "Well Used, Well Loved" - a project that explores age and beauty via hand-woven dishtowels.
Eight dish towels ready to be used and loved.


More soon!
Sarah
Tuesday, September 29, 2015

Heddle Up! Road Trip!


Adding/removing heddles is easiest with the harness on a table.
Adding, removing and moving heddles is perhaps my least favorite part of setting up a loom. Recently I got a call from one of my customers who was having trouble with her harnesses not raising evenly - and after much detective work it turns out that she had too many heddles on one side of the harnesses.

Long story made very short here ......heddles should be evenly divided (right/left) and you should not have so many extras that they impair a straight path of your warp from front to back. One of the "golden rules" that I tell beginning weavers - is that your warp wants to go from the back of the loom to the front in as straight a course as possible. Too many heddles (or too many on one side) will impede this straight line front to back.

Ok - now you know that adding and subtracting heddles is part of your routine loom program. This past week I had to add heddles to two new harnesses that I added to my 40" loom.

The first step is to remove the harness from the loom by simply unhooking the S hooks and chains. Lay the harness flat on large table. Then unclip the heddle bar from the center and sides of the harness and slide the heddle bar to one side 

Match up the heddle bar on the harness and the transfer bar with the new heddles. Now you can easily slide the heddles on to the heddle bar. Be sure to clip everything back up when you're done.

To remove heddles - follow the same set up steps by placing the harness on a table. And instead of sliding new heddles on to the harness - slid them off - on to a heddle transfer bar.

In June I wrote another blog post about heddles and heddle bars Please explore that entry for more heddle information.

Use a heddle transfer bar to help slide the heddles on to the harness heddle bar.

On another note - and a pretty darn exciting one -- I will be an artist in residence at the Hambidge Center in Rabun Gap, GA. I will be there for two weeks, plus the long scenic drive from Maine to Georgia. During my time there I will be focusing on embroidering on my hand-woven linens as well as drawing and exploring the environs.

Also please check out my new Face Book public page - just for my art!
10 yds of line to weave before I go!
The Hambidge Center

Thursday, July 2, 2015

New Price List

Summer Buddha
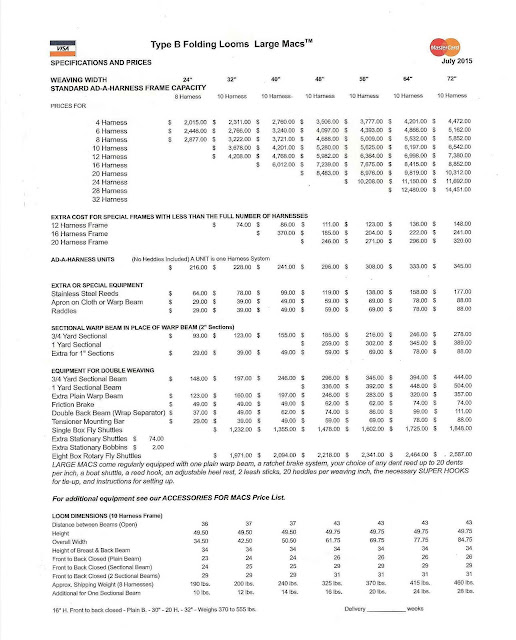
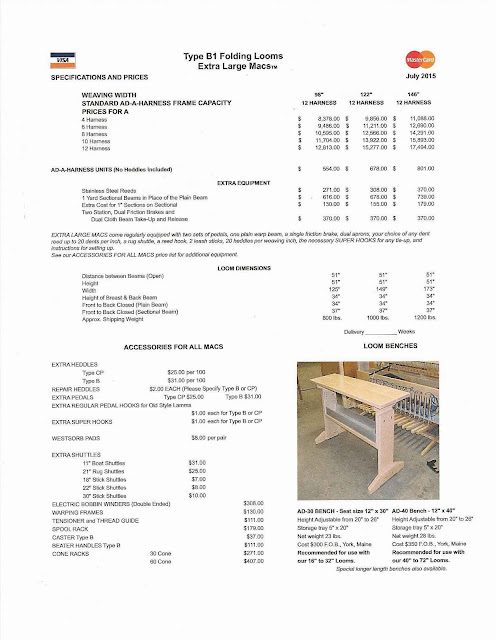
After three years - Macomber Looms has finally raised their prices. This is about a 10 -12% hike in prices across the board - for looms as well as parts. It's been way over due as much of the manufacturing costs have risen for building the looms and parts. So here you have it the new prices lists.

As always - I TRULY appreciate your ordering parts and looms through me. I am a self employed weaver and your orders help me stay alfoat.
In gratitude ~ Sarah

I realize that these images are too small to easily see - click on the price list and it will enlarge. I am also happy to email yo the list. Just let me know!


Thursday, June 18, 2015

The right and left of heddle bars

Heddle bars hold the heddles inside the harnesses.
 Heddle bars are those slim bars of steel that hold the heddles inside your harnesses. They run horizontally from left to right across the harnesses allowing the heddles to slide from one edge of the harness frame to the other.

Here is everything you might want to know about heddle bars ~ 

  • Cleaning heddle bars - use a light weight steel wool to clean off any rust. Lightly spray with Silicon spray to help prevent further rust and to help the heddles glide from right to left.
  • Getting heddles to slide easily - clean the heddles bars as described above. I find that the inserted eye heddles will glide more easily while the flat steel ones seem to bind up more frequently.

  • Replacing heddle bars - you can purchase new heddle bars if yours are too rusty and cannot be cleaned easily. They are not too expensive - ie. 24" bar is $4. Give me a call to order these.
    Heddle bar ends (right/left) - at each end of your heddle bar is a small hole. There should be some kind of fastener or clip that prevents the heddle bar from slipping out of the harness....and your heddles dropping off! Over the years Macomber has tried a variety of ways to prevent the heddle bar from slipping off.  Here are the 3 variations that I know -
    1. The clip - only on one edge, breaks over time.
    the clip, the rubber stopper and the office brad fastener.
    2. Rubber stopper - falls out, gets lost.
    Brad office fastener- current option.
      Heddle bar clips hold the bar inside the harness.
    • Heddle bar clips - inside the frame - these clips hold the heddle bars in a horizontal position and attach them to the harness across the width.On rare occasion these will break - and can be replaced. Call me to find out more about this repair.
    • Re/moving heddles - Sometimes it is necessary to remove heddles from the harness frame. Reasons to do this include - too many heddles for the project and the unused ones will chafe the warp and impede it from going on a straight path from front to back of the loom. Or perhaps you need to move some from one harness to another, or from one loom to another, etc. To remove the heddles - lay the harness flat on a table and undo the fastener or clip and slide the heddle bar out enough so that you can easily slide off the heddles. I HIGHLY recommend that you slide the heddles on to a heavy cord or even better a slim heddle transfer bar (a thin strip of flexible stainless steel). There is nothing more frustrating than a pile of chaotic heddles that need to be threaded back on to the heddle bar. (Since writing this post I have learned that it is a challenge to find heddle transfer bars for sale. Macomber no longer sells them. If anyone finds a source - PLEASE let me know!)
      Heddle transfer bar.
    • I hope that this post gives you some new information tips on heddle bars! Read more about heddles bars in a past blog post  - "Little Jobs"

    Wednesday, April 22, 2015

    Step on it!!

    CP brake for friction brake on second beam
    This one's for you Carol Ann! I hope it illuminates your installation. And it is also for the rest of you who have ever wonder how to install the CP foot pedal for the second beam, friction brake.

    Letter X
    Happy Spring everyone! Even though I still have a ridge of snow where the former mountain of snow was, it has been warmish every day. I am recently back from a lovely trip to warmer climates, so I have nothing to complain about! Letter X from my embroidery series "Now: Letters by Hand" was stitched there - inspired by warm winds, now a distant memory as framed by time.

    Happy weaving everyone! Sarah

    Tuesday, March 31, 2015

    New Updated Manual!

    "Tree of Life"- detail
    With the help of the wonderful Sue Jensen, weaver, writer, editor and friend from South Dakota, the 2015 updated version of the Manual is now available.

    If you have purchased a previous edition of the manual I will email you the 2015 PDF for free. Simply email me - I have saved all your emails - so I can verify your purchase.

    Thanks to all for supporting my blog, for ordering parts through me and your kinds words of encouragement.
    Happy weaving ~ Sarah

    Saturday, March 7, 2015

    Rhythm and blues

    "Unhinged #2"
    March is here - and today there is the sweet sound of water trickling down the gutters and a few icicles slipping off the roof, as winter slowly lessens her grip on our corner of this planet.

    This posting is just a few images of new work, a work in progress and how salt water looks when it freezes. Enjoy!
    New piece in process

    Winter beauty at the harbor

    Wednesday, February 11, 2015

    Cloth VS. String - part 2

    New apron on cloth beam.
    My blog readers are wonderful - what follows is the story of one wonderful guy who documented his experience of replacing the cloth beam with a new apron from the Macomber shop. Thanks SO much Steve for your description and photos - plus a very good argument for why a cloth apron might be better. I'm rethinking my opinion here!


    I attached the cloth beam apron with tacks because I thought it would be easier to get it exactly where I wanted it, easier to move if required and the tacks stick up less when all the way in, giving a smoother surface (not that it makes much of a difference). 


    New apron installed on cloth beam.
    I put a tack loosely at each end, pulling the apron tight and making sure it was straight.  When I got them in and everything adjusted, I put additional tacks at 2" spacing to finish.  The left edge (from the front) is perfectly straight while the right edge (shown) varies.  It appears to be wider at the end with the tacks.  Could be because I pulled it tight, but I tried to be careful not to stretch it, just remove the wrinkles.

    You can tell they spent a lot of time on the apron design.  There is a hem on the beam end as well as the rod end.  It is really nice having the edges on the new apron sealed with lacquer or whatever it is.  I think it will make it last much longer and deteriorate much slower.  You can see how frayed the cut edges are on my warp apron.  It is possible that the finish will increase the friction, too, making the knots hold better.
    Repaired warp apron


    I don't have a problem using a string apron on the warp beam, but mine came with a cloth apron and I didn't want to go through the work or removing and restringing the warp beam just to put it back on the cloth beam.  The portable has a string apron and I haven't received any complaints from the management about it.


    For my two cents, I have seen that the string apron doesn't provide as even tension as the cloth apron.  The individual strings don't expand and contract on as even a basis as the cloth does.  Since the new apron came with the two rods with individual ties between them, those ties determine the tension, not the cloth. 
    Whoever built it at Macomber did a really good job.  If you look at the pictures of my warp beam, I put an equalizer cord between the steel bar and the wood dowel.  This moves as needed to equalize the tension.  I think I saw pictures in your blog of an apron from Macomber strung this way.


    Steve 

    THANKS STEVE!!!

    Monday, February 9, 2015

    Cloth vs String Aprons


    You say "tomahhh -to" I say " tomayyy -to" ......
    Yes it is really a matter of choice in my opinion. Many weavers swear by cloth aprons - saying that it gives them better over all tension, a more solid foundation and feels more secure.

    I say great! But... I have woven with string aprons for years and believe that good tension is for the most part from a balanced beaming on of your warp.

    However - when you have to install a new apron on a used loom - it is FAR easier to simply staple on the new cloth apron - which comes with two new steel rods than to install the new apron strings.

    
    String apron on warp beam. Back to front warping with additional rod.


    Apron strings on cloth beam.

    I wrote a blog post about installing new apron strings - quite a few photos to help those who want to tackle this job. As with many renovations on older looms - some folks buy replacement parts direct from the Macomber shop and some folks prefer to fabricate their own. I won't discourage you from attempting this - but it is not a big investment to purchase the hand sewn cloth apron - basically it is a few $$ more than the width of your loom. IE. a 48" cloth apron is $53.
     
    The string apron repair kit is a mere $25 with enough string and tacks to repair 3 beams. But as I mentioned a bit more work.
     
    Here are a few photos to help illustrate the difference between cloth and string aprons. I'd love to have other weavers weigh in here! What do you prefer? Does your opinion have to do with who taught you??
     
    Send me photos if you have them of your installation process! Happy weaving!
    ~~ Sarah


    Eddie demos installing new string apron.
    Happy new loom owner with cloth aprons!
    Home made apron on warp beam.


    Cloth apron on cloth beam.


    Wednesday, January 28, 2015

    New Lamm depressor

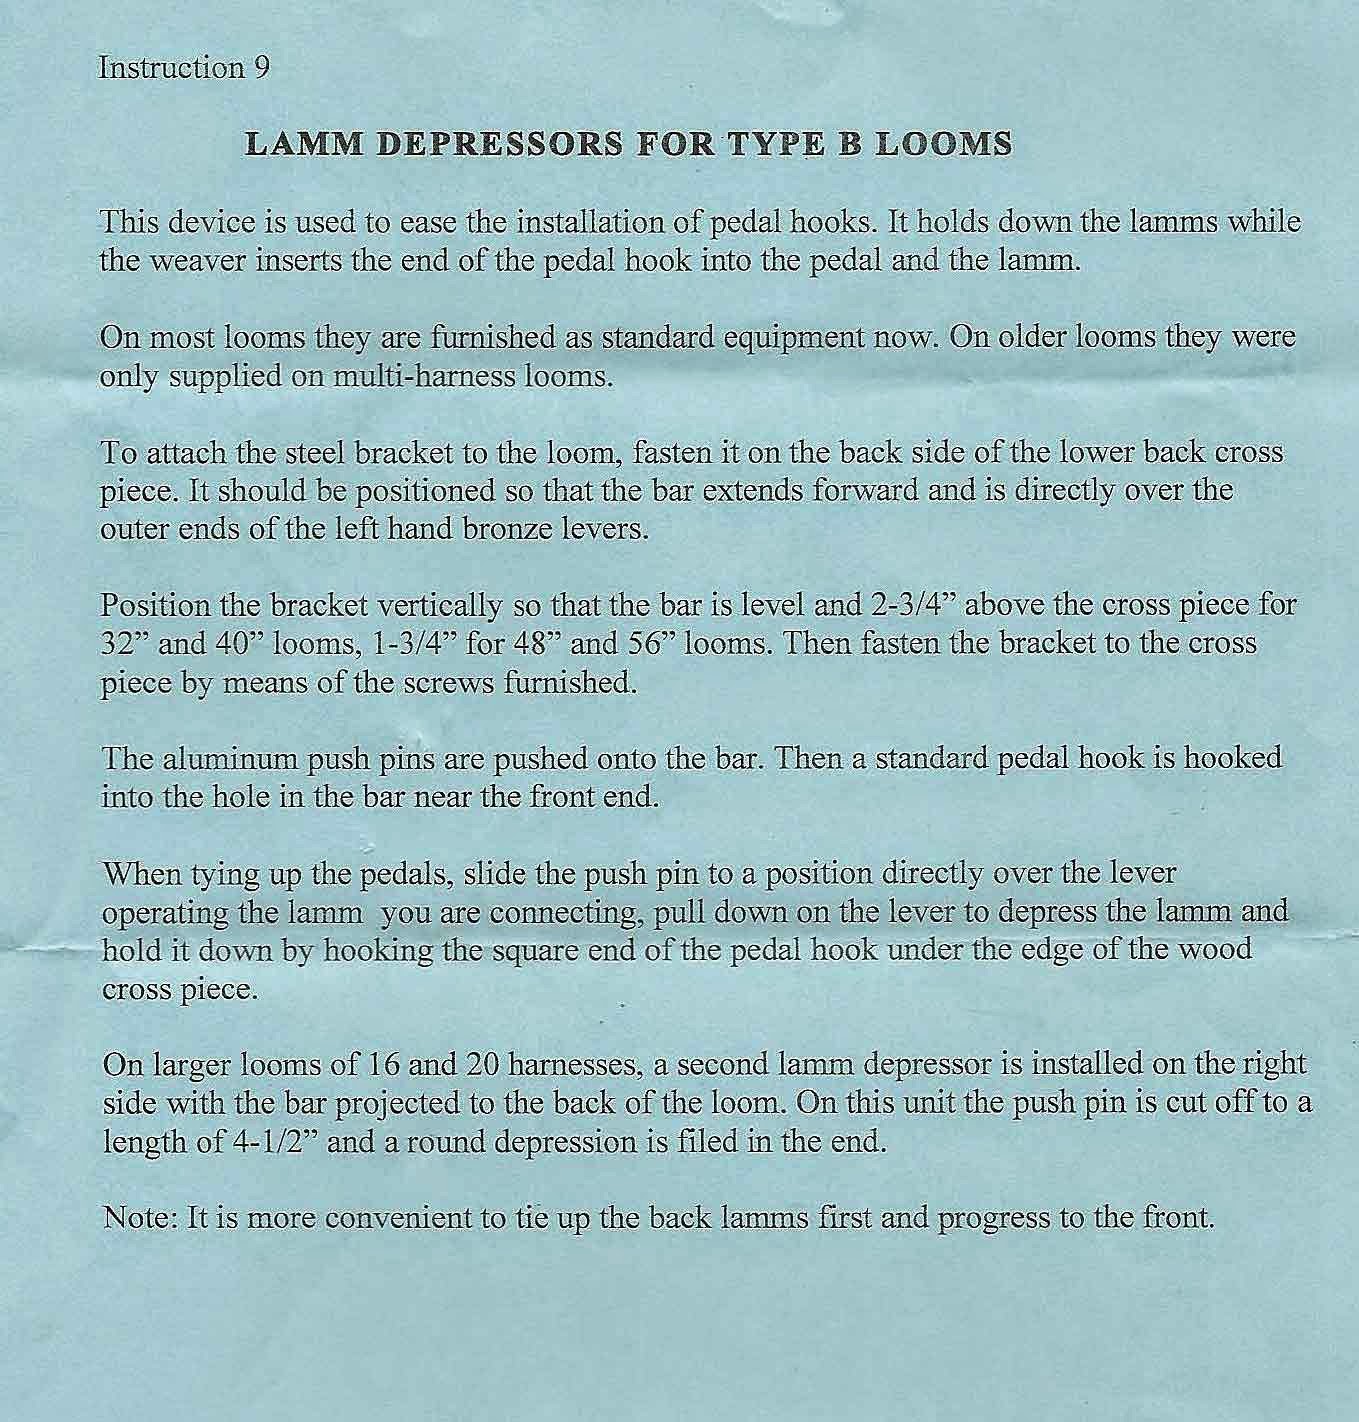
    Last in my series of installation of new parts - putting on a new lamm depressor.This part is a real life saver (back-saver!) when you are doing tie ups on more than 4 harnesses. It's not a hard job but does require some simple tools and time. 
    Lamm depressor installation instructions
    It is important where the unit is installed for it to work properly. Please refer to the instructions and use my notes and photos as additional support and info.Click on any photo, drawing or instructions to enlarge them.


    Installation diagram

    First mark where to drill hole for screwing in to the cross pieces.The pre-drill holes to allow for easy screwing into the cross piece. The lamm depressor needs to be set at a specific height in order for it to work correctly.
    Pre-drill holes for screwing int lamm depressor.
    The height of the depressor is critical to its function.

    Properly installed depressor.

    Lamm depressor in use.

    Lamm depressor engaged with the lamm upper view.
    My studio- after Juno blew through town. 25" snow. More coming!

    Second plain beam installation


    Instructions from the shop.
    Here's the installation process of the second plain beam on my 40" B5 Macomber loom. These instructions are from the shop - and what follows are my notes and photos.

    Move the ratchet brake plain beam to the lower position.
    First move the upper beam with the ratchet brake system to the lower position on the outside of the uprights. Along with the beam comes the anti-backlash cord and the whole ratchet brake system. Move the dog and springs for the ratchet system off the block and to the inside of the upright. These photos will help.
    Move the anti-backlash cord to the lower position.
    The dog is dangling, waiting to be moved inside the upright.

    Dog and springs on inside of upright lower position.
    Steel lever installed for the friction brake for the upper beam.
    Large screw eye installed above brake drum in back beam.
    Next install the new plain beam in the upper position on the inside. Refer to the diagram above. Install the steel lever on the inside of the castle.

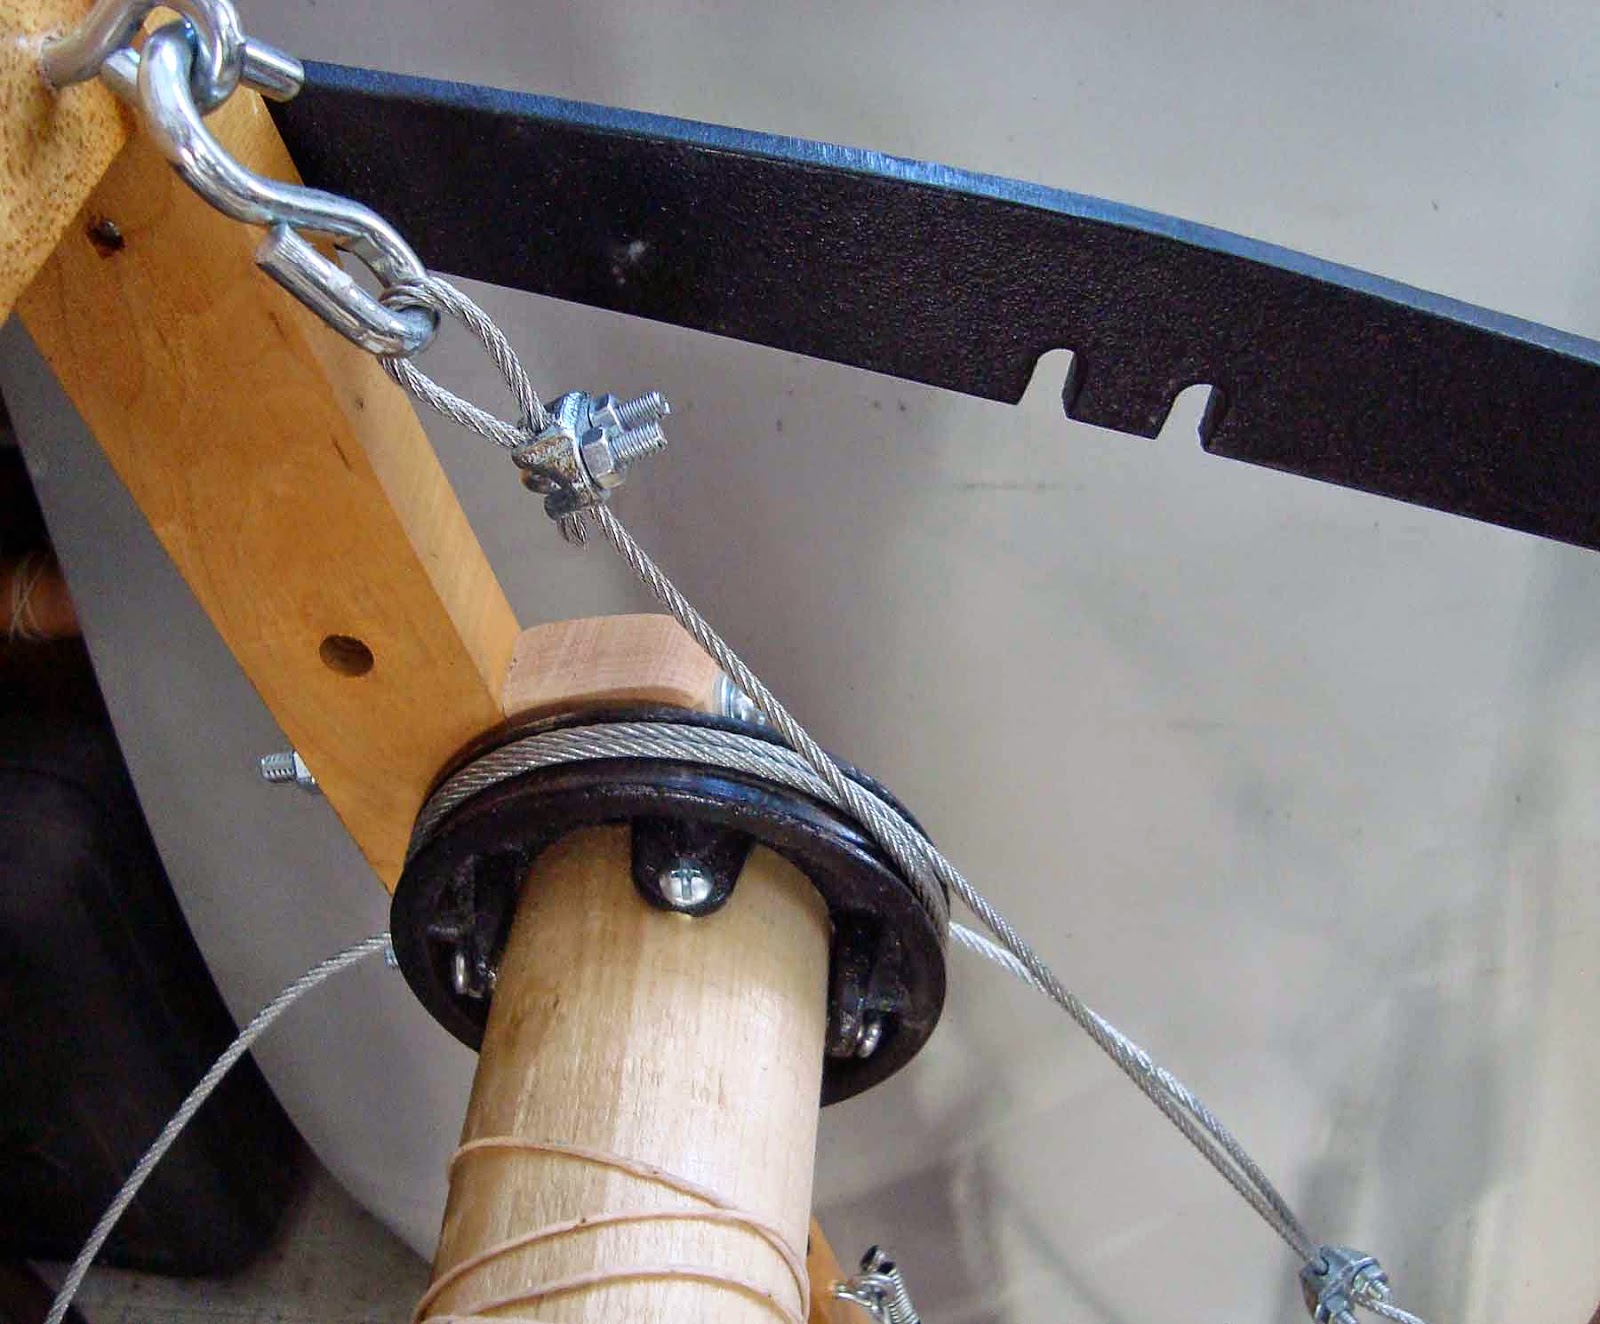
    Drill a hole and then screw the large screw eye in the back beam directly above the brake drum.Thread the brake wire/cable through the eye and tighten the clamp around two parts of the wire to secure it.

    Wrap the wire 2 times around the drum and then down to the brake lever and through the screw eye. Attach the second clamp and tighten it down. I find I can get the best tension if I slightly bring the back beam forward, then pull the cable tightly. Secure the clamp and then bring the beam back into position. This process will loosen the tension slightly on the brake and allow you to pull on the wire and make the friction brake have holding tension.

    Put a screw eye in the front brake pedal and attach the ratchet brake chain to it, adjusting the chaine length as needed.  You want the brake pedal to release the upper beam (friction brake) first, and then the lower beam (ratchet brake).

    Again, refer to the above instructions from the shop. My notes and photos are merely meant as a supplement and support. Happy double beam weaving!
    Pre-drill holes for the screw eye for the friction brake springs.

    Completed double brake system.

    Chain attached to screw eye on front brake release pedal.

    Another view of the brake system.
    Wrap wire cable 2X around the drum.


    Anti-back lashed installed on lower beam.

    Another view of anti-back-lash cord.


    24" 8 Harness CPJ Macomber for sale

      24" 8 Harness Macomber CPJ Portable Loom for sale. Double back beams with friction brake and warp separator. 4 reeds, storage box, 2 ...